
BUTCHERY AND PREP TOOLS
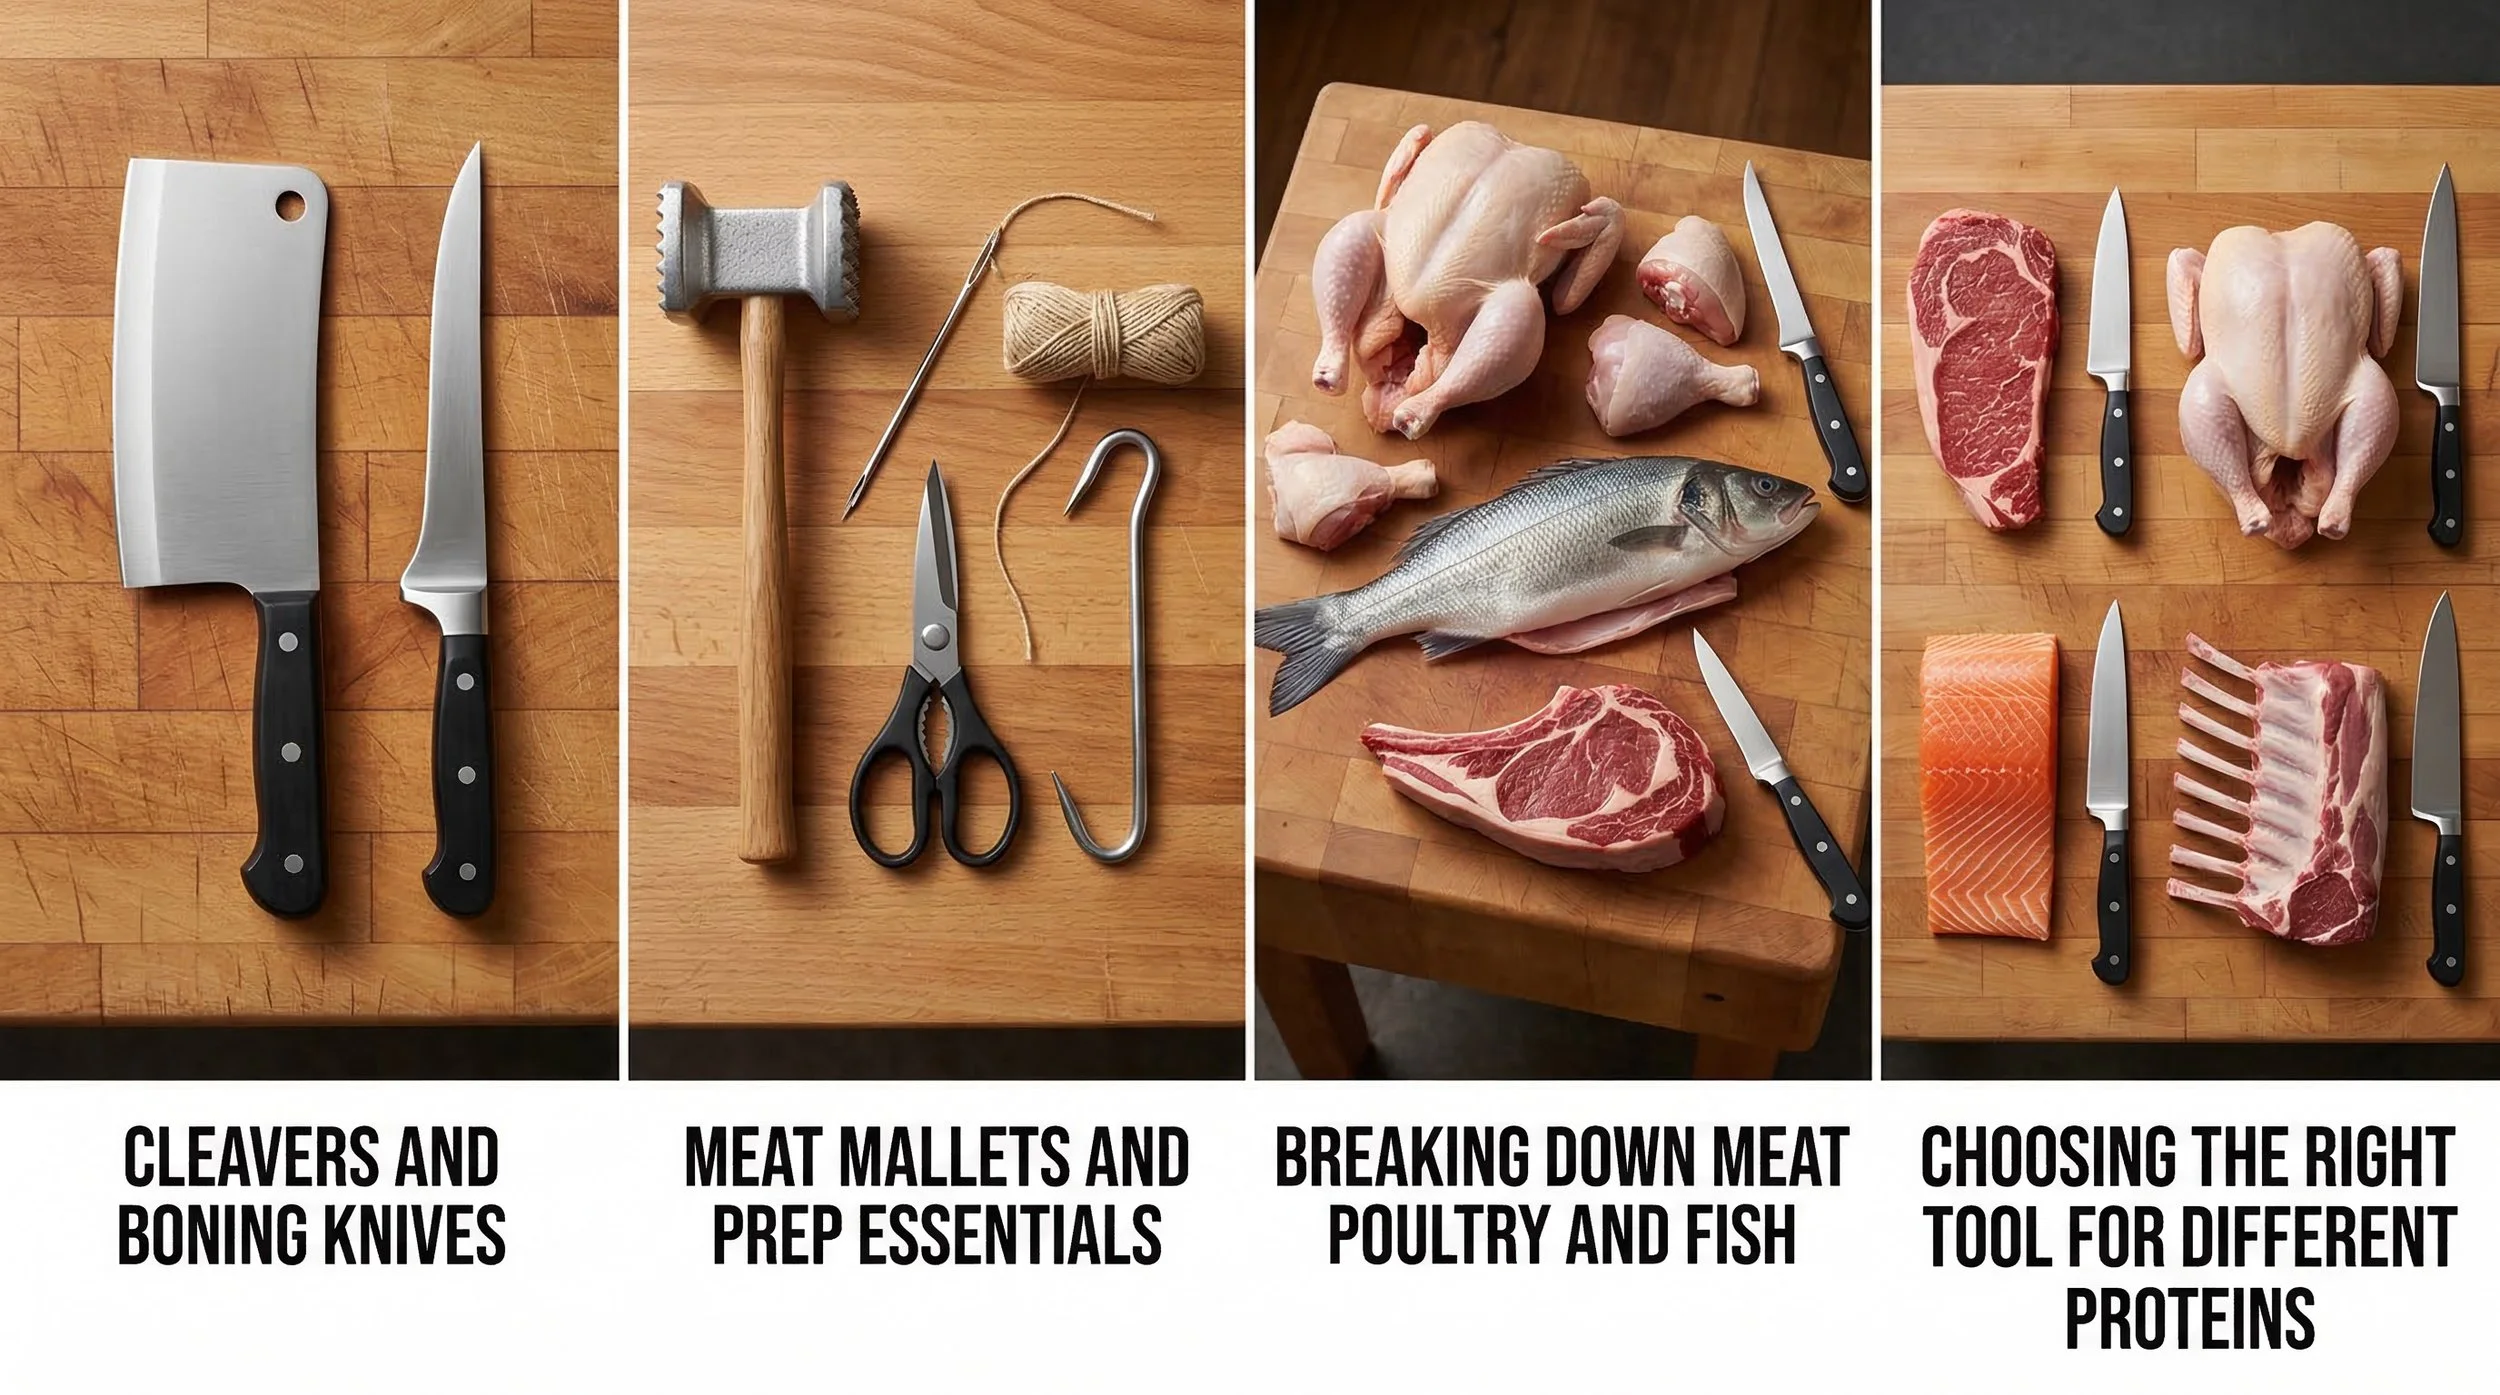
Butchery & Prep Tools — The Complete Guide
There is a quiet confidence that comes from knowing how to properly prepare your own meat, poultry, and fish. It saves money, reduces waste, gives you complete control over portioning and quality, and connects you to the ingredients you cook in a way that buying pre-cut, pre-packaged proteins simply doesn't. The right tools make all the difference — and understanding what each one is designed to do is the first step toward using them properly. Here is everything you need to know.
Cleavers, Boning Knives, and What Sets Them Apart
Of all the specialist knives and cutting tools in the kitchen, the cleaver and the boning knife represent two opposite ends of the spectrum — one built for raw power, the other for delicate precision. Both are essential in a properly equipped kitchen, and both are frequently misunderstood.
The Cleaver
The cleaver is the heaviest, most powerful cutting tool in the kitchen. Its thick, rectangular blade — typically between 15 and 25cm long — is designed to do what no other knife can: pass through bone. The weight of the blade does most of the work. A confident, well-directed chop with a cleaver will split a chicken carcass, crack through a lamb joint, portion a rack of ribs, and break down a whole head of cabbage in a single decisive stroke.
Construction and design: A good cleaver is forged from a single piece of high-carbon stainless steel — the blade, bolster, and tang all one continuous piece of metal for maximum strength and balance. The blade is thick at the spine and tapers to a sharp edge, giving it the mass needed for chopping while still maintaining enough edge geometry to cut cleanly rather than simply crush. The handle must be substantial and comfortable — a cleaver generates significant impact force and a poor grip is both tiring and dangerous.
Types of cleaver: The heavy meat cleaver is the version most people are familiar with — thick, heavy, and designed specifically for chopping through bone. The Chinese cleaver — also called a cai dao — is a lighter, thinner version used throughout Asian cooking not just for meat but for all vegetable prep and even fine slicing. Despite its intimidating appearance, the Chinese cleaver is one of the most versatile and beautifully balanced knives in any culinary tradition. The decorating cleaver is the lightest and thinnest of all — used for fine slicing and presentation work in Chinese cuisine.
Technique: The cleaver is a tool that rewards decisive, confident use. Hesitant, weak chops produce poor results and can be dangerous — the blade deflects rather than cuts cleanly. Position the blade exactly where you want to cut, raise it to a consistent height, and bring it down with authority in a single fluid motion. Keep your guide hand well clear of the blade's path and always work on a stable, heavy cutting surface.
Chef's insight: Never use a cleaver on a thin plastic cutting board — the impact will crack it. Always use a heavy wooden butcher block that can absorb the force of the chop without moving or splitting.
The Boning Knife
Where the cleaver relies on mass and power, the boning knife relies on precision and flexibility. Its narrow, pointed blade — typically 12 to 17cm long — is designed to navigate around bones, joints, and cartilage, separating meat from the skeleton cleanly and with minimal waste.
Construction and design: The boning knife's narrow blade reduces drag as it moves through tight spaces around bone — a wider blade would catch and resist. The pointed tip allows the knife to pierce and work into joints and around awkward curves that a larger blade couldn't reach. The handle is typically smaller and more precise than a chef's knife, reflecting the fine, controlled work the knife is used for.
Flexible vs stiff: Boning knives come in two versions — flexible and stiff — and the choice matters significantly depending on the protein you're working with. A flexible boning knife bends as it follows the contours of the bone, making it ideal for poultry, fish, and curved rib bones where the blade needs to follow an irregular path. A stiff boning knife provides more control and power for beef and pork, where the work is more forceful and the bones are larger and straighter.
What sets them apart from each other: The cleaver and the boning knife are designed for fundamentally different tasks — the cleaver to cut through bone, the boning knife to work around it. In breaking down a whole chicken, for example, you would use the boning knife to work the meat away from the carcass and separate the joints, and the cleaver to portion the carcass into stock pieces. Together they cover the full spectrum of butchery work.
Meat Mallets, Trussing Needles, and Prep Essentials
Beyond the primary cutting tools, a range of specialist prep tools makes butchery and meat preparation cleaner, more precise, and more professional. Here are the most important ones and what each is designed to do.
The Meat Mallet
The meat mallet — also called a meat tenderiser — is a heavy, handheld tool used to physically break down the muscle fibres of meat, tenderising tougher cuts and flattening thicker ones to an even thickness for faster, more uniform cooking.
Most mallets have two faces — a flat side for pounding meat to an even thickness without tearing the surface, and a textured, pyramid-patterned side for tenderising. The textured side physically breaks down the connective tissue and muscle fibres of tougher cuts, making them more tender and better able to absorb marinades. The flat side is used for escalopes, schnitzel, chicken breasts, and any piece of meat that needs to be of uniform thickness — an evenly thick piece of meat cooks far more consistently than an uneven one, with no risk of thin edges overcooking while thicker parts remain underdone.
Materials: Wooden mallets are traditional and effective but harder to clean thoroughly. Stainless steel mallets are more hygienic, easier to clean, and more durable. Look for a model with a comfortable, non-slip handle and sufficient weight to do the work without requiring excessive force.
Chef's tip: Always place meat between two sheets of cling film or baking paper before pounding — this prevents tearing, keeps the surface of the meat intact, and contains any splatter.
The Trussing Needle and Butcher's Twine
Trussing is the technique of tying poultry or rolled joints of meat into a compact, uniform shape before roasting. A properly trussed chicken or rolled loin cooks more evenly, holds its shape beautifully during cooking, and presents far more elegantly on the plate or carving board than an untrussed one.
A trussing needle is a long, thick needle — typically 20 to 30cm — with a large eye designed to thread butcher's twine. It's used to pass the twine through and around the bird or joint in a series of loops that hold everything in position during cooking. Butcher's twine — also called kitchen twine or cooking string — is made from unbleached cotton that is food safe, heat resistant, and strong enough to hold a joint securely throughout a long roast.
Simple trussing without a needle: For a basic chicken truss, a length of butcher's twine and your hands are all you need — no needle required. Cross the twine under the tail, bring it up and around the drumsticks, cross over the cavity, bring it along each side of the breast, and tie firmly at the neck end. The result is a compact bird that roasts evenly and looks professional.
Kitchen Scissors and Poultry Shears
A heavy pair of kitchen scissors or dedicated poultry shears is one of the most underused and underrated tools in home butchery. Poultry shears have a curved, spring-loaded blade with a notch for gripping bone — they are specifically designed to cut through the joints, cartilage, and smaller bones of poultry that would be awkward and imprecise to navigate with a knife.
Spatchcocking a chicken — removing the backbone to flatten the bird for faster, more even grilling — is the most common use for poultry shears, and it transforms what sounds like a complex butchery task into a simple two-minute job. Run the shears along each side of the backbone, remove it, flip the bird over, and press flat. The result is a bird that cooks in half the time with perfectly crispy skin across the entire surface.
The Butcher's Hook
A butcher's hook is a heavy-duty S-shaped hook used to hang large cuts of meat during preparation, dry-ageing, and storage. In a home butchery context, a sturdy hook mounted inside a cool larder or dedicated refrigerator allows whole legs of lamb, cured hams, and large joints to hang freely — improving air circulation, promoting even drying during the ageing process, and keeping the meat off any surface that could transfer bacteria.
The Meat Thermometer
Already covered in our small tools guide, the meat thermometer bears repeating in the context of butchery and prep because knowing the internal temperature of large, complex cuts is even more critical when you've broken them down yourself. A home butcher working with a whole leg of lamb or a bone-in rib roast needs to know the temperature at the deepest point of the meat — not just the surface — to cook it safely and to the correct doneness.
Breaking Down Meat, Poultry, and Fish at Home
Learning to break down whole proteins at home is one of the most rewarding skills a cook can develop. It is cheaper than buying pre-cut portions, produces less packaging waste, gives you complete control over the size and quality of each cut, and leaves you with bones and trim for stocks and sauces that add enormous depth to your cooking.
Breaking Down a Whole Chicken
The whole chicken is the best starting point for home butchery — it is affordable, widely available, and teaches the fundamental techniques of joint separation and boning that apply to larger, more complex animals.
Step one — remove the legs: Place the chicken breast-side up on a stable board. Pull one leg away from the body and cut through the skin between the leg and the breast. Find the hip joint — the point where the thigh bone meets the carcass — and cut through it cleanly. The joint will separate easily with a confident push and cut. Repeat on the other side.
Step two — separate the thighs from the drumsticks: Lay each leg skin-side down and locate the line of fat that runs across the joint between the thigh and drumstick. Cut through this line — the joint lies directly beneath it. A single clean cut will separate them.
Step three — remove the wings: Pull each wing away from the body, find the joint where it meets the breast, and cut through it. If you want to keep the wing tip for stock, leave it attached; if you want a cleaner presentation, remove it.
Step four — remove the breasts: Run your boning knife along one side of the breastbone, following the contour of the ribcage closely, and peel the breast away from the carcass in a single piece. Repeat on the other side. You now have two bone-in breasts that can be cooked as they are or further boned if desired.
Step five — use the carcass: The remaining carcass — backbone, ribcage, and any trim — goes into a pot with vegetables, herbs, and cold water to make chicken stock. Nothing is wasted.
Breaking Down a Whole Fish
Breaking down a whole fish into fillets is a skill that takes a little practice but becomes natural quickly. The reward is fresher, better-quality fish at a lower price per portion than buying pre-filleted fish from the counter.
Step one — scale the fish: If you intend to cook with the skin on, scale the fish first by running the back of a knife or a dedicated fish scaler firmly from tail to head against the direction of the scales. Do this in a sink or over a deep tray to contain the scales.
Step two — make the first cut: Lay the fish flat on the board. Make a diagonal cut behind the head down to the backbone — don't cut through the backbone, just down to it. Turn the knife flat and run it along the backbone from head to tail in smooth, long strokes, keeping the blade in contact with the bones at all times. The fillet will lift away from the carcass cleanly.
Step three — remove the second fillet: Flip the fish over and repeat on the other side.
Step four — remove pin bones: Run your fingertip along the centre of the fillet to locate the row of pin bones that run along the lateral line. Remove them with fish tweezers or needle-nose pliers, pulling firmly in the direction they lie rather than straight up — this removes the bone cleanly without tearing the flesh.
Step five — use the bones: Fish bones, head, and trim make a delicate, flavourful fish stock in just 20 minutes — far faster than meat stock, and an exceptional base for soups, sauces, and risottos.
Breaking Down a Lamb Shoulder or Leg
Breaking down a large bone-in cut of lamb at home produces individual muscles of varying sizes — perfect for different cooking methods, from quick pan-searing to slow braising.
The key is to follow the natural seams between muscles rather than cutting across them. Insert the tip of your boning knife into the seam between two muscle groups and follow the connective tissue, peeling each muscle away from the bone and from its neighbours. Work slowly, keep the blade angle shallow, and let the knife follow the natural anatomy of the animal rather than forcing it. The result is a set of individual muscles — each one suited to a specific cooking method — and a clean bone for stock.
Choosing the Right Tool for Different Proteins
Different proteins present different challenges, and choosing the right tool for each one makes the work safer, faster, and more precise.
Beef
Beef is the most physically demanding protein to break down at home — the muscles are large, the connective tissue is dense, and the bones are heavy.
Primary tool: A stiff boning knife for following seams and removing fat and sinew. A heavy cleaver for portioning the bone and breaking down the carcass. A sharp chef's knife for slicing steaks to consistent thickness.
Key consideration: Beef benefits from a very sharp, stiff boning knife — the dense muscle and connective tissue require more force than poultry, and a flexible knife bends under pressure rather than cutting cleanly.
Lamb
Lamb is smaller and more delicate than beef, with a distinct bone structure that makes it approachable for the home butcher.
Primary tool: A flexible boning knife for working around the curved rib bones and removing the fell — the thin papery membrane that covers the exterior fat. A cleaver for portioning racks and chops.
Key consideration: The fell should be removed from lamb intended for roasting — it can tighten during cooking and distort the shape of the joint. A sharp boning knife removes it quickly and cleanly.
Pork
Pork offers an extraordinary range of cuts and preparation styles — from slow-braised belly to quick-cooked loin — and breaking down a whole pork loin or shoulder at home is one of the most cost-effective butchery projects available.
Primary tool: A stiff boning knife for removing the loin from the bone. A cleaver for portioning chops. Kitchen scissors for scoring the rind before roasting — deep, regular scores through the skin allow fat to render and promote even crackling across the entire surface.
Key consideration: Scoring pork rind for crackling is one of the most impactful things you can do before roasting — but it needs to be done with the right tool. A Stanley knife or a very sharp, thin-bladed knife makes cleaner, deeper scores than a standard chef's knife.
Poultry
Poultry is the most accessible protein for home butchery — the joints are easy to locate and the bones are light enough to cut through with good kitchen scissors or a light cleaver.
Primary tool: Poultry shears for spatchcocking and removing the backbone. A flexible boning knife for removing breasts from the carcass and working the meat from thigh bones. A light cleaver or heavy chef's knife for portioning.
Key consideration: Always work cold — poultry is easier to break down cleanly when chilled, as the fat is firmer and the flesh holds its shape better under the knife.
Fish
Fish is the most delicate protein to prepare at home and the one that most rewards the use of the correct tool.
Primary tool: A long, thin, flexible filleting knife — specifically designed for fish. The flexible blade follows the contour of the bones and ribcage without tearing the delicate flesh. Fish tweezers for pin bone removal. A fish scaler or the back of a knife for descaling.
Key consideration: Sharpness is more critical with fish than with any other protein. A slightly dull knife drags and tears the delicate flesh rather than cutting cleanly. Always fillet fish with the sharpest knife available, and work with smooth, deliberate strokes rather than short, sawing ones.
Butchery is a craft that rewards patience, practice, and respect for the ingredient. Learn to break down your own proteins and you will not only cook better — you will understand the food you cook at a level that changes the way you think about it entirely.