
GRILLING AND OUTDOOR COOKING
Grilling & Outdoor Cooking — The Complete Guide
There is something primal and deeply satisfying about cooking over fire. It is the oldest cooking method in human history, and despite every technological advance in kitchen equipment, nothing quite replicates the flavour, the theatre, and the experience of cooking outdoors over live heat. Whether you're a weekend barbecue enthusiast or a serious outdoor cook, mastering the tools, techniques, and principles of grilling will transform everything that comes off your grill. Here is everything you need to know.
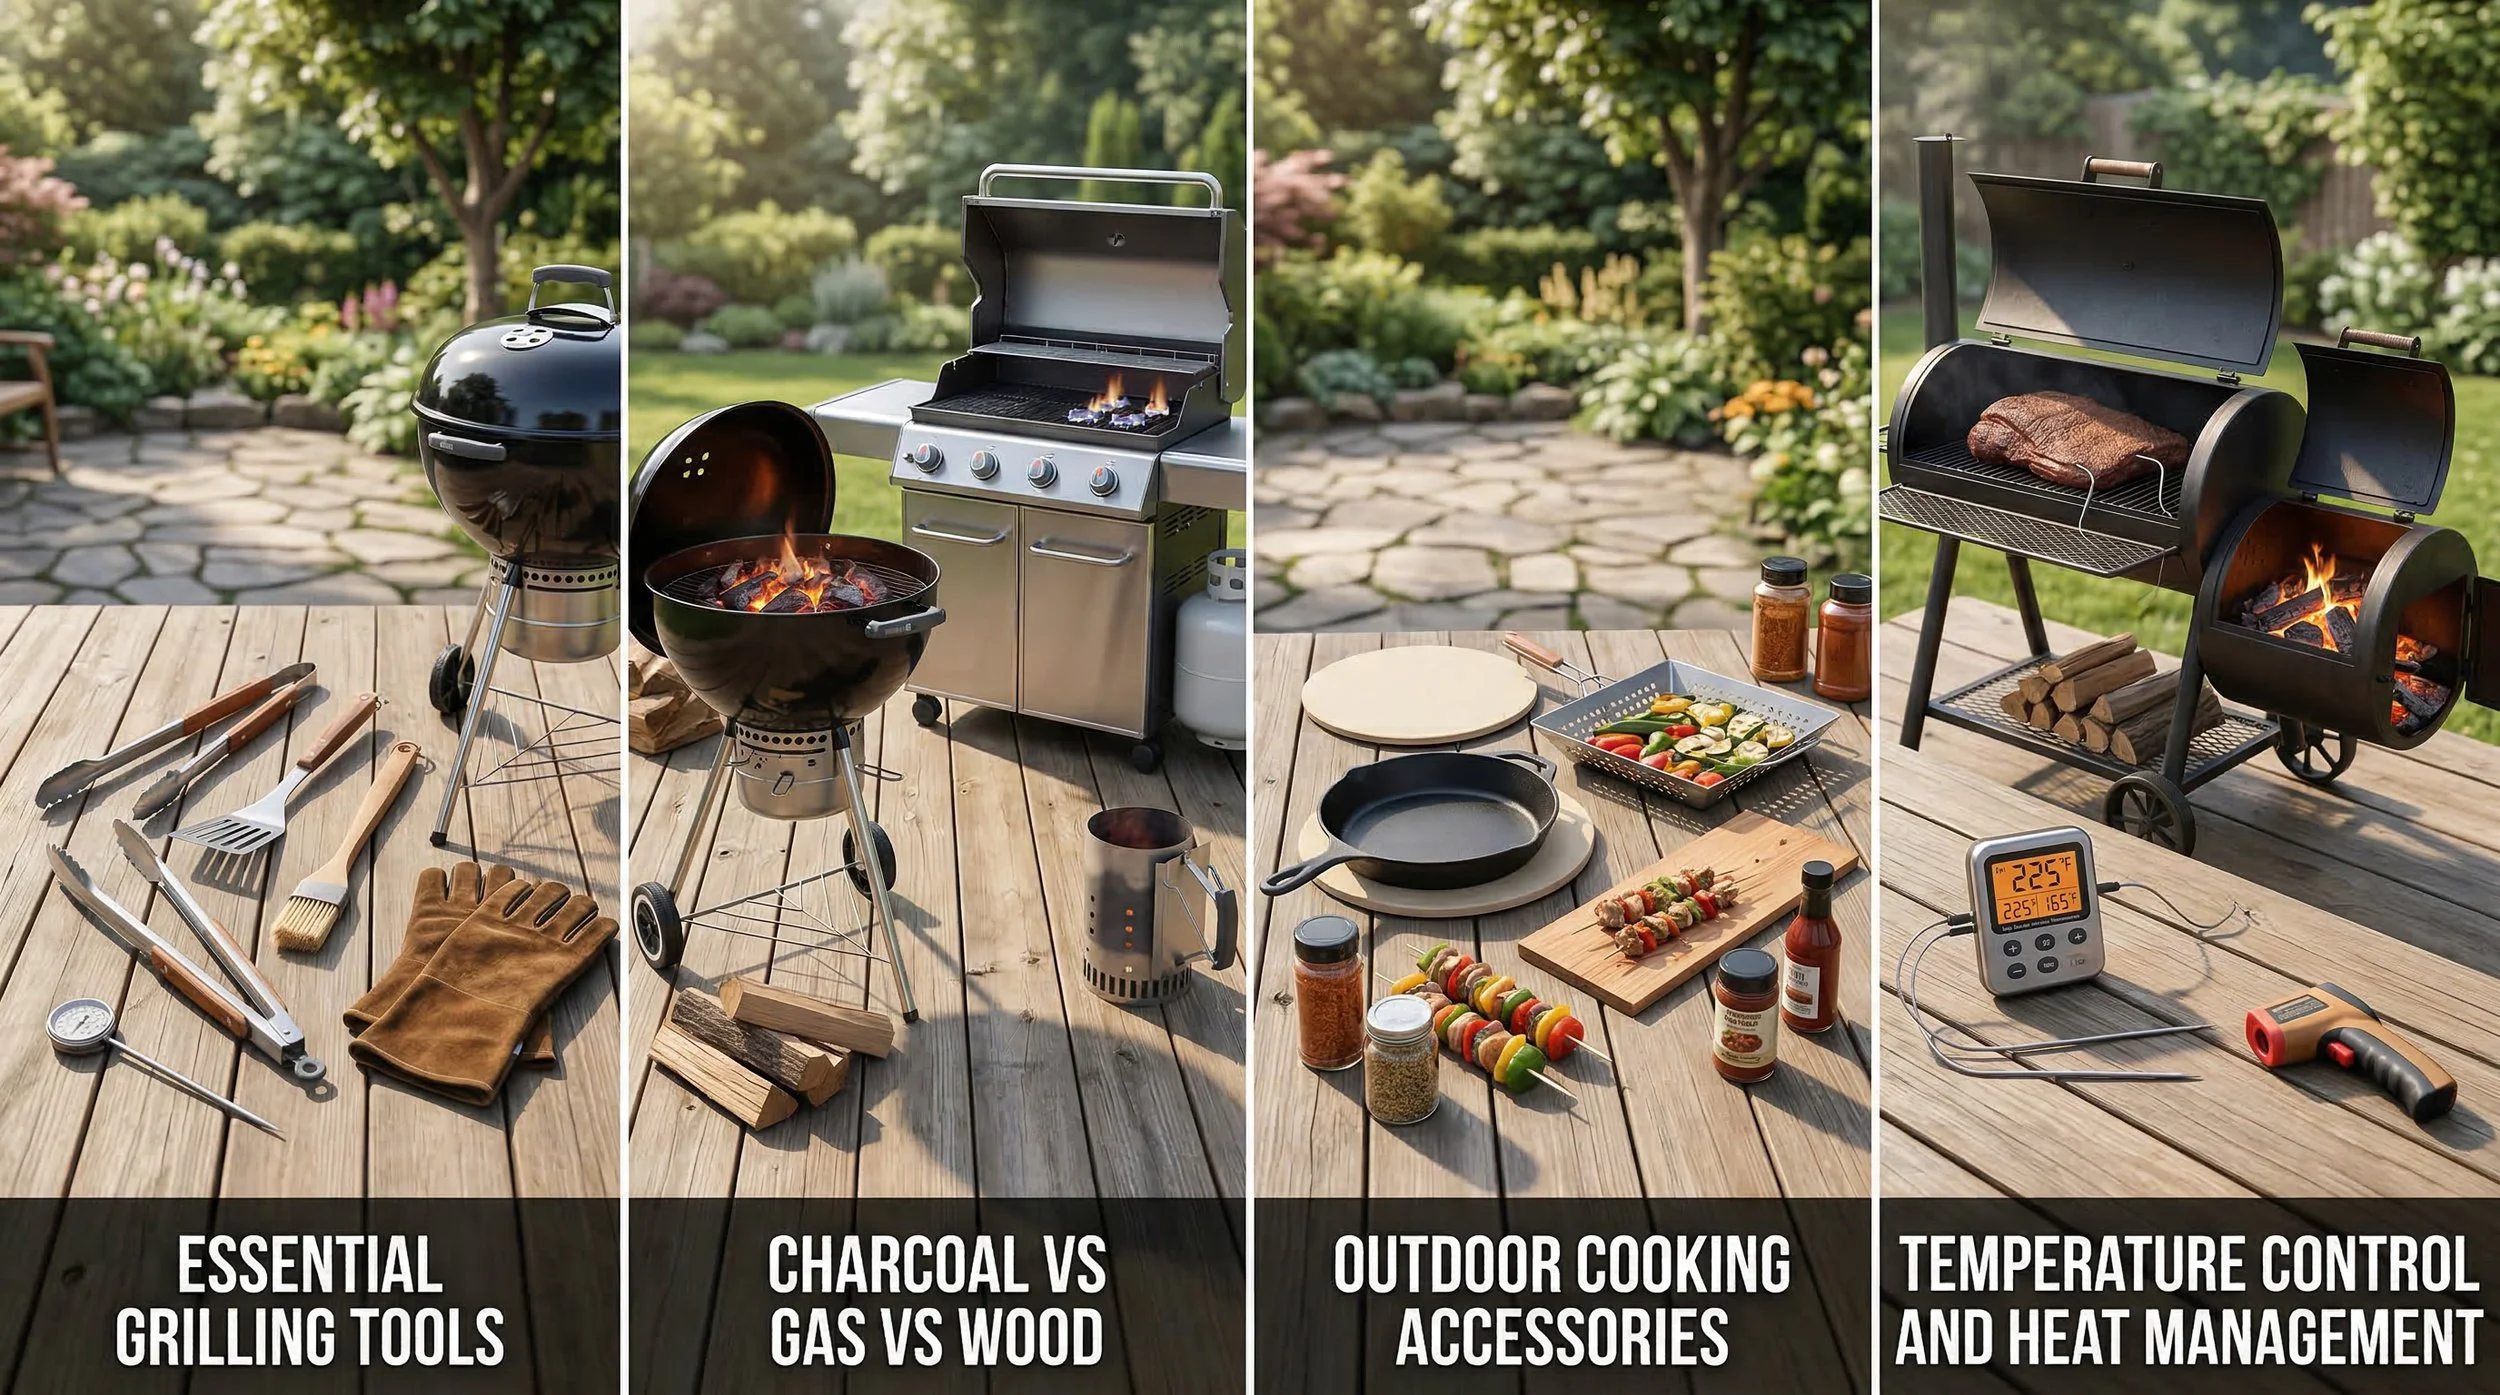
Essential Grilling Tools
A great grill is only as good as the tools you use with it. The right grilling tools give you control, precision, and safety — keeping your hands away from intense heat while giving you the reach and leverage to manage food confidently. Here are the tools no serious outdoor cook should be without.
Grill Tongs
Tongs are the single most important grilling tool in your arsenal. Long-handled, spring-loaded, and sturdy, a good pair of grill tongs extends your reach safely over intense heat and gives you the grip and control to turn, reposition, and plate food without piercing it. Piercing meat with a fork during cooking releases juices and dries out the finished result — tongs avoid this entirely. Look for tongs at least 40cm long with a locking mechanism for easy storage, stainless steel construction throughout, and a comfortable grip that doesn't conduct heat. Never use kitchen tongs at the grill — the handles are too short and the build quality isn't designed for open-flame use.
Grill Spatula
The grill spatula — wide, flat, and long-handled — is essential for turning burgers, fish fillets, delicate vegetables, and anything else that needs to be flipped cleanly rather than gripped and turned. A good grill spatula has a thin, bevelled edge that slides cleanly under food without tearing, a wide enough surface to support what you're flipping, and a long handle that keeps your hand safely away from the heat. Some models include a serrated edge for cutting and a bottle opener built into the handle — useful additions that make a well-designed spatula even more versatile.
Grill Brush
A clean grill grate is essential for good grilling — food releases more cleanly from a clean surface, you get better grill marks, and cross-contamination between different foods is avoided. A stiff-bristled grill brush removes charred residue quickly and effectively. The best time to clean your grates is immediately after cooking while they are still hot — residue cleans off far more easily from a hot grate than a cold one. In recent years, bristle-free grill brushes have become popular as an alternative to traditional wire-bristle models — eliminating the small risk of a bristle detaching and ending up in food.
Meat Thermometer
The meat thermometer is the most important precision tool you can bring to the grill. Cooking by sight and touch alone is an unreliable guide to internal temperature — and internal temperature is what determines whether meat is safe to eat and cooked to the right doneness. An instant-read digital thermometer inserted into the thickest part of the meat gives you an accurate reading in seconds. Chicken must reach 74°C throughout. Medium-rare steak sits at 57°C. Pork is safe and juicy at 63°C. A probe thermometer that stays in the meat and transmits temperature wirelessly to your phone is an excellent investment for larger cuts and low-and-slow cooking where you need continuous monitoring without lifting the lid.
Basting Brush
A basting brush — or mop brush for larger cooks — applies marinades, glazes, butter, and sauces to food during cooking, building layers of flavour and keeping the surface moist. Silicone basting brushes are the best choice for grilling — they are heat resistant, easy to clean, and don't shed bristles into your food. Apply glazes and sugary sauces in the final stages of cooking only — sugar burns quickly over direct heat and will blacken and bitter if applied too early.
Skewers
Skewers transform small pieces of meat, fish, vegetables, and fruit into manageable, easily turned packages that cook evenly over the grill. Metal skewers are reusable, conduct heat to cook food from the inside out, and don't require soaking. Bamboo skewers are inexpensive and disposable but must be soaked in water for at least thirty minutes before use to prevent them from catching fire over the grill. Flat skewers — rather than round ones — prevent food from spinning when you turn them, keeping everything in position.
Chimney Starter
For charcoal grilling, a chimney starter is the single most useful accessory you can own. It lights charcoal quickly, evenly, and without the need for lighter fluid — which imparts a chemical taste to food that no amount of cooking will fully eliminate. A chimney starter is a simple metal cylinder with a grate inside — fill the top with charcoal, place crumpled newspaper underneath, light the paper, and in fifteen to twenty minutes you have a full chimney of perfectly lit, ash-grey coals ready to pour into your grill. It is faster, cleaner, and produces better results than any other lighting method.
Charcoal vs Gas vs Wood — A Proper Comparison
The choice of fuel is the most fundamental decision in outdoor cooking. Each option produces a different kind of heat, a different flavour profile, and a different cooking experience. Here is an honest, detailed comparison of all three.
Charcoal
Charcoal is the traditional choice and the one most associated with the flavour and experience of true barbecue. It burns hotter than gas, produces distinctive smoky flavour compounds, and creates the high-heat searing environment that gives grilled food its characteristic crust and char.
Types of charcoal: Briquettes are compressed charcoal mixed with binding agents — they light easily, burn consistently, and maintain a steady temperature for a long time, making them reliable and forgiving for beginners. Lump charcoal is made from pure hardwood and burns hotter and faster than briquettes, with less ash and a more natural flavour. Lump charcoal is the preferred choice of serious grillers — it responds more quickly to airflow adjustments, burns cleaner, and imparts a purer smoky flavour.
Advantages: Extremely high heat for excellent searing. Distinctive smoky, complex flavour that gas simply cannot replicate. Authentic grilling experience. Relatively inexpensive fuel.
Disadvantages: Longer setup time — charcoal takes fifteen to twenty-five minutes to be ready to cook on. Requires more attention and skill to manage temperature. Produces more ash and mess. Fuel costs add up over a season.
Best for: Steaks, burgers, chicken pieces, and any food where high heat, char, and smoky flavour are the goal.
Gas
Gas grilling has become the dominant choice for home outdoor cooking — and for good reason. A gas grill lights with the turn of a knob, reaches cooking temperature in ten minutes, and offers precise, responsive heat control that charcoal cannot match.
Advantages: Convenience and speed — no waiting for coals to light, no ash to dispose of. Precise temperature control with multiple independent burner zones. Consistent results that are easier to replicate. Easier to cook for large groups across different heat zones simultaneously.
Disadvantages: The flavour profile of gas-grilled food is less complex than charcoal. The high-heat searing capability, while good, rarely matches the intense heat of a properly lit charcoal fire. Gas cylinders need to be monitored and replaced. The equipment is more expensive upfront and more complex to maintain.
Best for: Weeknight grilling, large gatherings where convenience and volume matter, whole fish, vegetables, and dishes where precise temperature control is more important than smoky flavour.
Wood
Cooking over wood is the oldest form of grilling and produces the most complex, nuanced flavour of all three methods. Different wood species impart distinctly different flavour profiles — oak gives a robust, earthy smokiness; applewood is mild and slightly sweet; hickory is intense and deeply smoky; cherry wood adds a subtle fruitiness that works beautifully with pork and poultry.
Types of wood: Whole logs are used in dedicated wood-fired grills and pizza ovens where a large, sustained fire is required. Wood chunks are used in charcoal grills and smokers — placed directly on the coals to generate smoke. Wood chips are smaller pieces soaked in water and added to charcoal or gas grills to introduce smoke flavour without replacing the primary fuel source entirely.
Advantages: The deepest, most complex flavour of any fuel source. Each wood species adds its own unique character to the food. The cooking process itself is a craft — building and managing a wood fire is a skill that produces exceptional results in the right hands.
Disadvantages: The most demanding fuel to work with — requires skill, experience, and attention to manage consistently. Longest setup and burn-down time. Not practical for quick weeknight cooking.
Best for: Low-and-slow barbecue, whole animals, large roasts, smoked brisket, ribs, and any cook where flavour development over time is the primary goal.
The Honest Verdict
For flavour, charcoal and wood win every time — there is a reason every serious barbecue competition is fought over fire, not gas. For convenience, reliability, and everyday use, gas is hard to beat. The ideal outdoor kitchen has both — a gas grill for quick weeknight cooking and a charcoal or wood setup for weekend sessions where the process is as much a part of the experience as the food itself.
Outdoor Cooking Accessories and What They Do
Beyond the essential tools, a range of specialist accessories opens up an entirely new world of outdoor cooking techniques. Here are the most useful and what each one is designed to do.
Smoker Box
A smoker box is a small, perforated metal container that holds wood chips and sits directly on the burners of a gas grill. As the chips heat up they produce smoke, infusing gas-grilled food with genuine wood-smoke flavour that would otherwise be impossible to achieve on a gas grill. It's an inexpensive and highly effective way to bridge the flavour gap between gas and charcoal cooking.
Rotisserie Attachment
A rotisserie attachment mounts onto a grill and slowly rotates a whole chicken, leg of lamb, or large roast on a spit over indirect heat. The continuous rotation bastes the meat in its own juices as it turns, producing exceptionally moist, evenly cooked results with beautifully crisped skin. Whole rotisserie chicken cooked over a live fire is one of the great simple pleasures of outdoor cooking — the rotating motion and constant self-basting produce a result that conventional oven roasting simply cannot replicate.
Grill Basket
A grill basket is a hinged wire or perforated metal basket that holds food — typically fish, vegetables, or small pieces of meat — securely while allowing heat and smoke to penetrate freely. It is the solution to the problem of delicate foods that would otherwise fall through grill grates or break apart when turned. A fish basket holds a whole fish securely and allows you to turn it in a single confident movement without it sticking or falling apart. A vegetable basket keeps chopped peppers, courgettes, mushrooms, and onions from falling into the fire while still achieving proper char and grill marks.
Cast Iron Grill Grate
Upgrading the standard grill grates that come with most grills to a cast iron alternative is one of the single most impactful improvements you can make to your grilling setup. Cast iron retains heat far more intensely than standard steel grates, giving you deeper, more defined grill marks and a better sear. Once properly seasoned, cast iron grates also develop a natural non-stick surface that makes food release cleanly and easily.
Planks
Cedar, alder, and maple planks are soaked in water and placed directly on the grill, with food cooked on top of the plank rather than directly over the grates. As the plank heats up, the wood smoulders gently and infuses the food with a delicate, aromatic smokiness. Cedar planks and salmon is one of the classic combinations of plank grilling — the cedar's resinous, woody aroma pairs beautifully with the rich fat of the fish.
Drip Trays and Foil Trays
Disposable foil trays serve multiple purposes at the grill — they can be placed under food cooking over indirect heat to catch dripping fat and prevent flare-ups, used to rest and carry cooked meat, or filled with water and placed on the grill to create a more humid cooking environment for larger cuts. They are inexpensive, disposable, and one of the most practically useful accessories in the outdoor kitchen.
Temperature Control and Heat Management Outdoors
Temperature management is the skill that separates good outdoor cooking from great outdoor cooking. It is the area where most home grillers have the most room to improve — and where a little knowledge makes an enormous difference to results.
Understanding Heat Zones
The most important concept in outdoor cooking is the two-zone fire — and it applies equally to charcoal, gas, and wood grilling. A two-zone setup divides the grill into a direct heat zone — where the heat source is directly below the food — and an indirect heat zone, where there is no heat source below.
Direct heat is used for searing, charring, and cooking smaller items that cook through quickly — steaks, burgers, sausages, chicken pieces, vegetables, and fish fillets. The intense, direct heat from below creates the Maillard reaction — the chemical process responsible for the brown, flavourful crust that forms on the surface of grilled food.
Indirect heat is used for larger cuts that need time to cook through without burning on the outside — whole chickens, racks of ribs, brisket, leg of lamb, and whole fish. Food cooks in the ambient heat of the grill rather than over direct flame, in a process closer to oven roasting than grilling.
The reverse sear is a technique that uses both zones in sequence and produces arguably the best results for thick steaks and large cuts. The meat is cooked slowly over indirect heat until it reaches just below the desired internal temperature, then moved to the direct heat zone for a short, intense sear to develop colour and crust on the outside. The result is perfectly cooked meat from edge to edge — with none of the overcooked grey band that traditional searing produces.
Managing Temperature on a Charcoal Grill
Charcoal temperature is controlled primarily through airflow. Most charcoal grills have vents at the bottom and at the top — the bottom vents control how much oxygen reaches the coals, and the top vents control how much heat and smoke escape from the cooking chamber. More open vents mean more oxygen, hotter fire, and more airflow. More closed vents mean less oxygen, lower temperature, and more smoke retained around the food.
To raise temperature — open both vents wider and add more coals if needed. To lower temperature — partially close the bottom vents to restrict oxygen and partially close the top vents to trap heat and slow combustion. Lid position also matters — a closed lid turns your grill into a convection oven, trapping heat and cooking food from all sides simultaneously. An open lid focuses the heat directly on the food from below.
Banker coals — placing a small reserve of unlit coals alongside your lit ones — is the professional approach to maintaining temperature over a long cook. As the lit coals burn down, they gradually ignite the adjacent unlit ones, maintaining a steady temperature over several hours without the need to repeatedly add fresh coals.
Managing Temperature on a Gas Grill
Gas grills offer the most straightforward temperature control of all three fuel types — independent burner controls allow you to set specific zones to specific temperatures with a simple turn of a knob. To create a two-zone setup on a gas grill, light one side on high and leave the other side off entirely or on its lowest setting. Most gas grills also have a built-in thermometer in the lid — useful for monitoring ambient temperature, though for accurate internal food temperature always use a probe thermometer inserted directly into the meat.
The Importance of Resting
Resting cooked meat after it comes off the grill is one of the most consistently overlooked steps in outdoor cooking — and one of the most impactful. During cooking, the heat drives moisture toward the centre of the meat. Cutting immediately after cooking releases that moisture in a flood — it runs out of the meat and onto the board, and the finished result is drier than it should be. Resting allows the moisture to redistribute evenly throughout the meat as it relaxes. A steak needs at least five minutes of resting. A whole chicken needs fifteen. A large brisket or joint benefits from thirty minutes or more, loosely tented in foil to retain warmth.
Weather and Wind Management
Outdoor cooking doesn't happen in a controlled environment — wind, cold, and rain all affect grill temperature and cooking times in ways that can catch inexperienced grillers off guard. Wind increases the rate of combustion in a charcoal grill and can cause unpredictable temperature spikes and flare-ups. Cold ambient temperatures cause a grill to take longer to reach temperature and recover heat more slowly after the lid is opened. Rain affects charcoal significantly — wet coals don't light or burn well.
Position your grill in a sheltered spot away from direct wind whenever possible. In cold weather, allow extra time for your grill to reach temperature and expect cooking times to be longer than in summer. Keep a close eye on your thermometer rather than relying on time alone — conditions change, and the thermometer always tells you the truth.
Grilling is a skill built through practice, attention, and a genuine love of the process. Understanding your tools, knowing your fuel, and mastering temperature management are the foundations on which every great cook over fire is built. Light it up, pay attention, and enjoy every moment of it.